 Alright, many people have ask me to explain just how I do what I do. Here is the full explaination on how to make three bags from one pair of pants. This is a three part tutorial be sure to come back and check for the next installments.
When making your design you can look at my shop for inspiration, or hit up crafster for lots of ideas.
Things you will need:
A pair of old pants - tears and stains add character - don't go and buy a pair of new pants and cut them up.
Fabric scraps - for appliques, decorations, and embellishments.
Handles - these can be made from a long strip of fabric, old ties, and most fabric stores sell commercial webbing strap.
Optional - buttons and other notions for decoration
Let's Get Started!
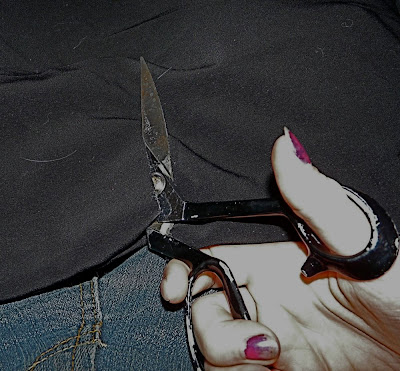 Take your pair of pants and lay them out. Pin or otherwise affix the front waistband to the back waistband to keep it even. Find the bottom of the pockets and draw a line across to the crotch. You can adjust this line to get the shape you want, but if you cut the bottoms off the pockets, they don't work very well!
 Take the legs, and fold them in half. If the have a cuff you may wish to clip and unfold this as well. You should have one pant top, two middles, and two bottoms. Set aside the top and middle. We are going to start with the simplest bag.

This is the pile of stuff I'll be using. The pile on the left is the petals of the flowers. I have a zillion templates I use for flowers, made from cereal boxes for continuous use. The shiny strips will be shoulder straps, the other pieces are for pockets.

 Cut open the two halves of the bottom lay one out, and pin your appliques. Here is a picture of my flowers pinned, and embroidered. One of the flowers got a sewn center, the other two will get vintage buttons. Now take the other half, and sew your pockets on. The smaller pocket is sewn on the inside. The larger pocket is put on the outside to cover the stitches. Amazing invisible pocket!
Sew the two halves together, I like to curve the bottom corners to prevent the build up of lint and fuzzies. I recommend backstiching the tops for sturdiness.
To make the handles I fold a long strip right sides in, and sew up the edge. Turn it and sew up both edges. Using the same technique I make a small strap for closing the top with a button. Sew these all on very well, this it where the most stress on the bag occurs!
Wowza! One and a Half hours to cool tote bliss. For more pics and discription click here. Next part will show making a lined halloweeny bag from the middle section, it will be more involved so get out your Home Ec. textbooks.
Stay tuned!!!
1 comment:
Seeing Pink-hands with shears frightens me! o_o
Post a Comment