Showing posts with label recycled. Show all posts

Sunday, December 7, 2014

Five Awesome Upcycling Projects for Sewers

 I am always on the lookout for good ways to make use of old materials. Unmatched buttons, bits of fabric, broken zippers and old notions. The best of the goods get rolled into my upcycled bags, but let's face it. I have a lot of fabric. A. Lot. 

So here's a sampling of good ways to upcycle those crafty bits, like into something exciting! Like purdy hangers, good for those of us with exposed closet spaces. Also, slippery clothing won't fall off.
From Corrieberry Pie
Or a cute little tree! Perfect for lonely little buttons, and that neat wood spool! (Let's not talk about how many empty spools I have in the craft room...)
From Kitsch and Curious
 Several ways to use old zippers? Yes please! I have an alarming number of busted zippers, and plenty of nice metal ones are available from the fly of old pants.
From Passion Make on Instructables.
Mmmmmm, little wee scraps! Stitching onto paper to give fabric a new life and purpose, and trees! (I really like trees, in case you didn't know.) One could of course branch out into any designs that suit the message... but trees are the best.

From Stitched in Color
 And here's the most practical of upcycling projects for the seamstress - a sewing kit! I find that us four-eyes tend to accumulate old glasses, and as I donate old frames I often keep the case, now I know why. See, just planning! I'm totally not a hoarder...
From Tea Rose Home
Now get out there and re-make cool things!

Thursday, July 11, 2013

Bike Bag

 My sad little bike bag finally died, after having the zipper split and spill my bike chain once too often. (Confession - I've been meaning to make a better one for a while. I'm not sad.)

So I set about making a new bag, this one will sit on the rear rack instead of attaching to the seat post.
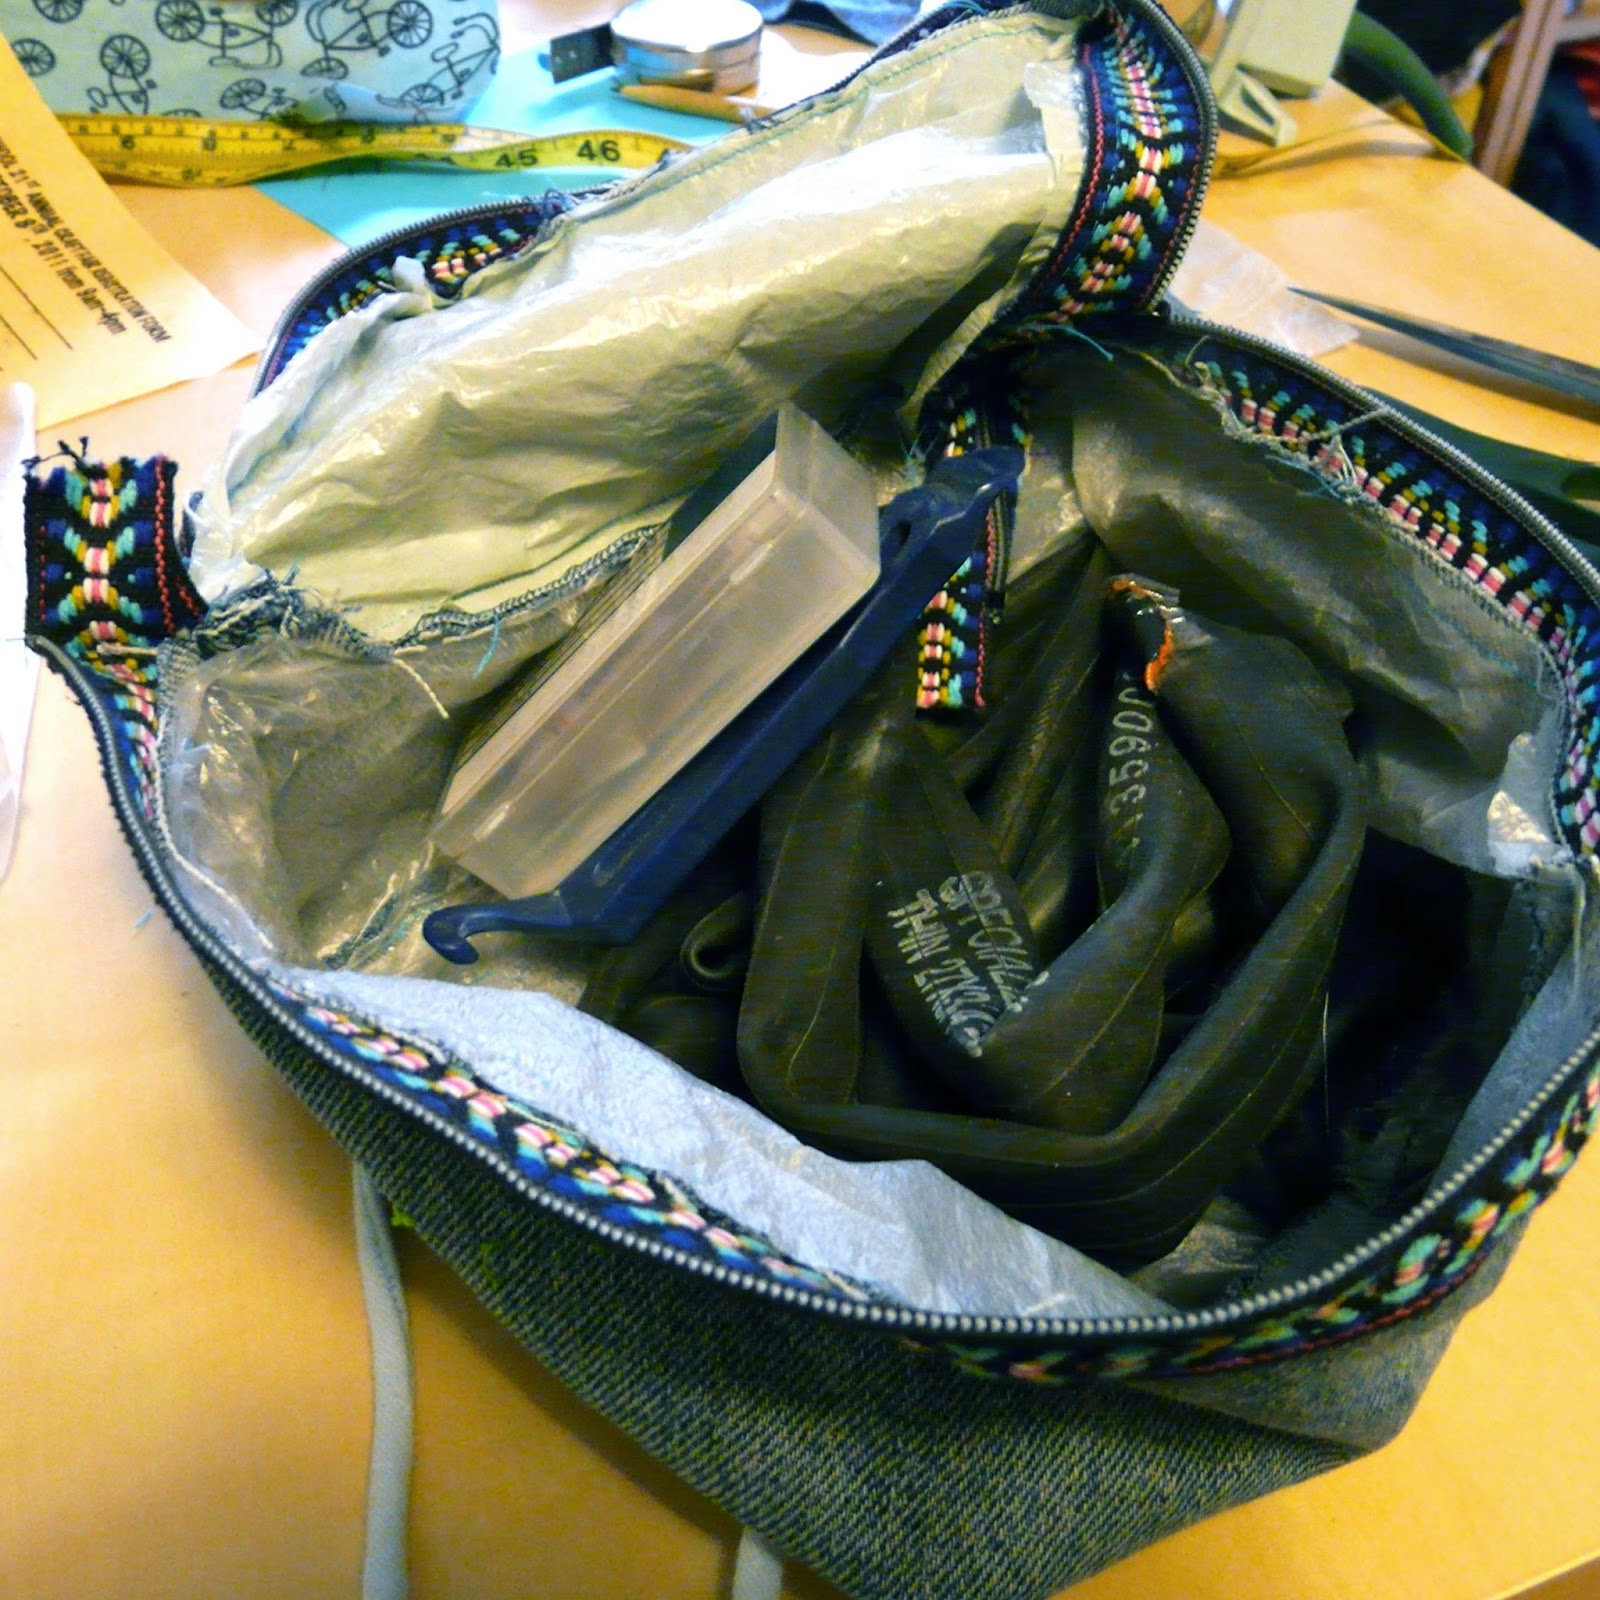
 It's not enough for me to have sturdy denim, I wanted to keep water out too. I recycled some baggies that my CSA veggies are coming in, and ironed it to shrink and melt the bags together. It makes a nice thick layer to keep out rain.
 I pinned the plastic fabric to the denim pieces, and cut it a little bit bigger. The less holes one puts in the plastic to better it will repel water of course, so I tried to keep it simple. I added the fancy fabric first, so there wouldn't be lines of applique stitches in the plastic lining either.

And no, those are NOT my sewing scissors. People who cut plastic with sewing scissors deserve to be put in a bag full of ants.
 I also tucked some cords into the bottom seam to be my tie-ons. Can you believe that I don't have any velcro just laying around? The cords are working ok for now, but I will likely replace them with velcro in the long run.
 After sewing together the pieces I trimmed back all the excess plastic lining. If I lived somewhere that water was a big deal I would do flat-felled seams and seal them like a tent... but I don't.

Also, I'm lazy.
Here's the crazy vintage zipper added to the top. The bag opens on three sides for easy access of tools and such.

On the first test run of the bag, naturally, the zipper failed. After gathering up my chain and tools I vowed to never trust fancy vintage zippers again.
 Look at all that space! Mind you, I haven't had a flat tire for nearly a year *knocks on wood* so this is mostly cosmetic.

"I can fix my own bike! I never do, but I could..."

I do know that I will find more random items that need to be put in here 'just in case'. It's the big purse curse!
Here it is in it's natural habitat. A nice sturdy metal zipper that shows no sign of giving out replaced the broken one, but I kept the ribbon trim.

Ride on!

Have you ever made something for your bike?

Wednesday, December 26, 2012

Chair Re-fab

The number one way to get that vintage distressed look? Buy some beat-up chairs from estate sales, store them in your garage for a decade while you plan to do something. Find them while cleaning up, throw away the wonkiest one, then place them on a back porch in the sun thru a few snow storms.

No seriously, that's what happened. This were in my parent's garage until a major cleaning a few months ago. My father cursed under his breath and asked if I needed any chairs. They are, strangely enough, almost a matching trio. At first glance identical, then you notice the slight variations in shape on the back piece. Each seat is leather, of a slightly different shade and thickness.
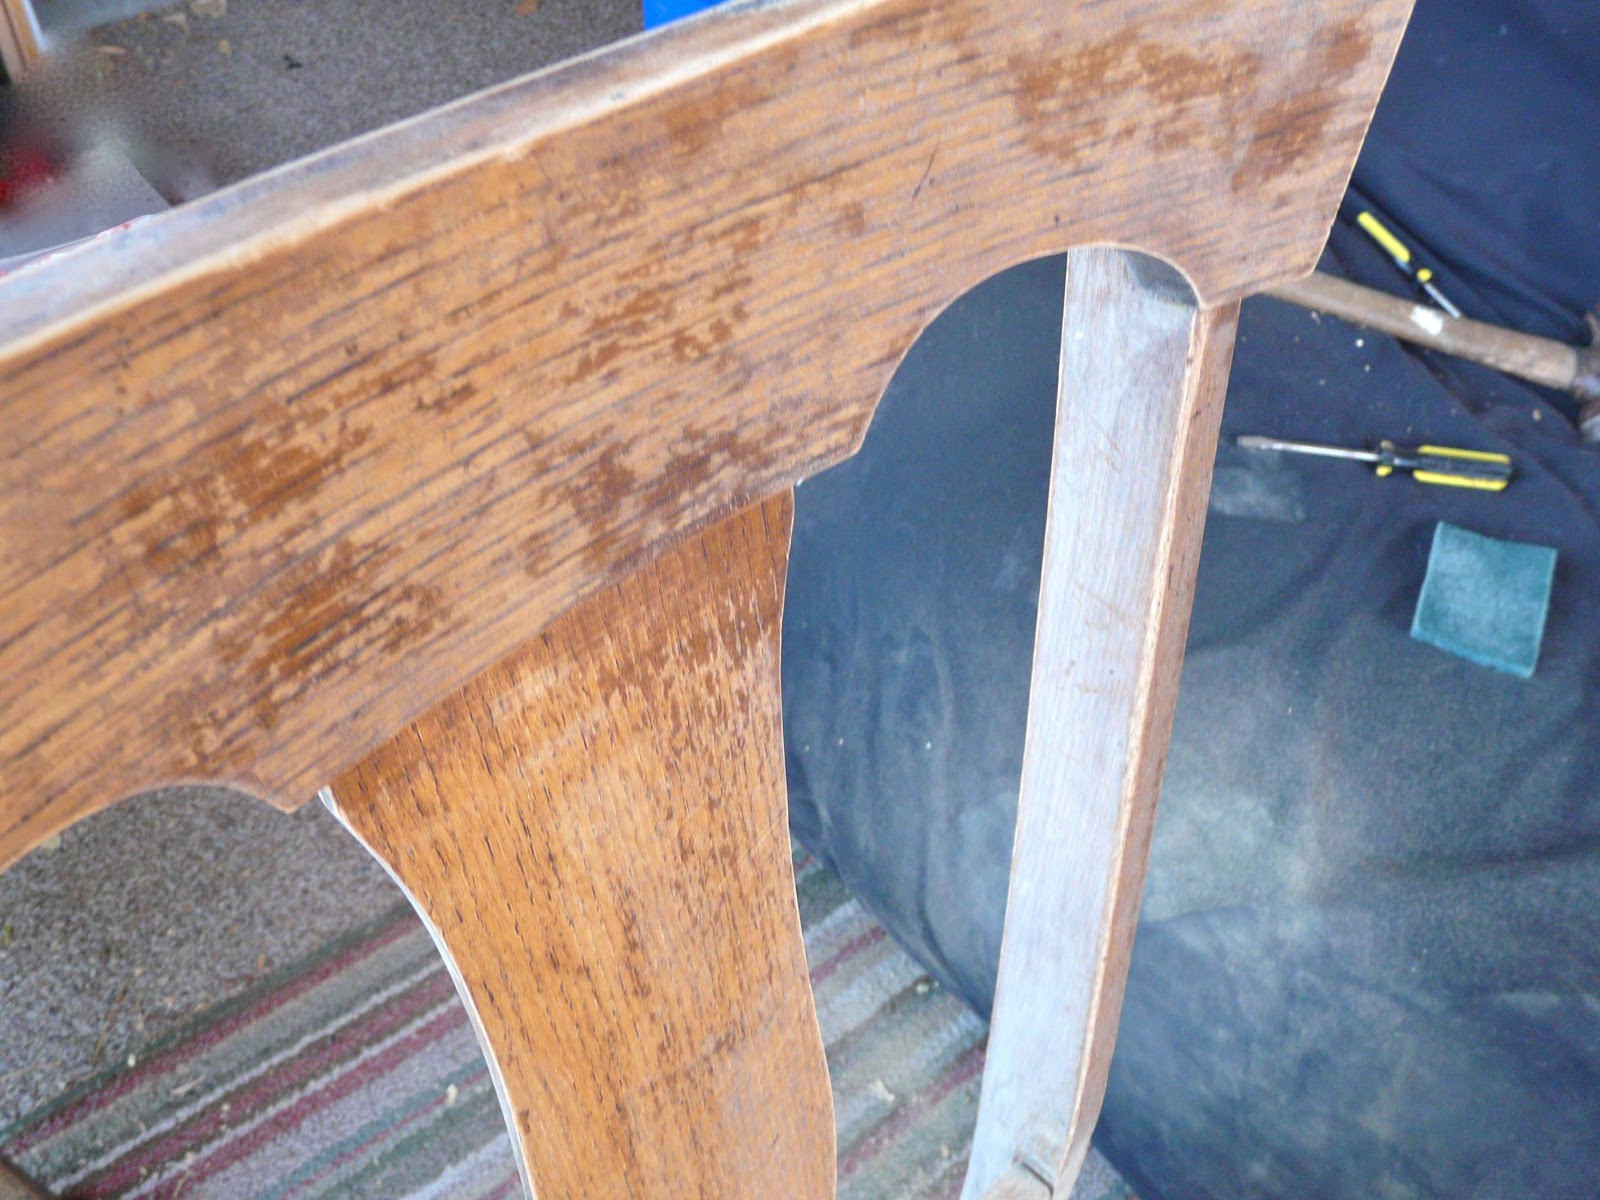
I first took off the seat, taped the screw to the bottom, and attacked with sandpaper. Not pictured is Miss Pink the Bandito... I wore a damp bandana around the face to protect from inhaling decades old shellac.
When stripped the natural color of the wood appeared, with a gentle grain and a smooth surface.


Then I attacked the seats, the leather was cracking and dry, and held on with rows of petite upholstery nails. The stuffing was an odd mix of dirty cotton fluff and shredded wood.

I bought seat foams (in sets of two naturally, I will have to find a fourth for my collection!) and used a vintage mid-weight canvas from my collection. Notice the screws taped to the bottom? If you're like me and you don't always finish projects in one day, then that little detail is imperative.
The edges were stapled down tautly. I first stapled one spot on each side to keep it square, then worked all the way around.
The bottom edge of the chair hides the fabric edging, and if not for the "holy-shit-no-commercial-joint-would-ever-make-this" fabric, one might call it professional. The wood is currently lightly oiled but not stained, I might decide to color it up a bit in the future.
Looks dashing with my new walls ya? Now to ditch these ugly tan curtains...

Have you ever done a furniture project? It's easier than you think!